This project is from an old issue of Cotton Friend, a japanese magazine that my husband brought back for me from Singapore. These are incredibly handy and I have many more in the works: for all the crap little things in my studio and all the markers, crayons and glue sticks that are under the couch. I thought you would like to make some too, so I whipped up a tutorial. Here you go:

Materials:
28 oz. tin can (if you have a different size can, just measure the height and circumference, add seam allowances, and the rest is the same)
linen, or other fabric
lining fabric
embroidery floss
glue (I used rubber cement, but plain white glue should do just fine)
Directions:
Wash your tin can and take off the paper. Cut two 13″ X 4.75″ rectangles–one from linen and one from the lining fabric–and one 13″ X 1.5″ strip of linen. Embroider the design of your choice on the fabric or leave it plain if you like. Place the two large rectangles together right sides facing, and sew around using a 1/4 inch seam allowance. Leave a 2 inch opening in the middle of one of the short sides for turning out. Clip the corners, turn and press (I like to press it so a little of the lining shows). Sew the opening closed. Fold the strip of fabric in half the long way and press. All the way along one side clip almost up to the fold. Glue the unclipped side to the inside of the tin can, then glue the outside. Wrap the finished piece around the can and sew shut (I like my stitches to show, but you could of course use an invisible stitch).
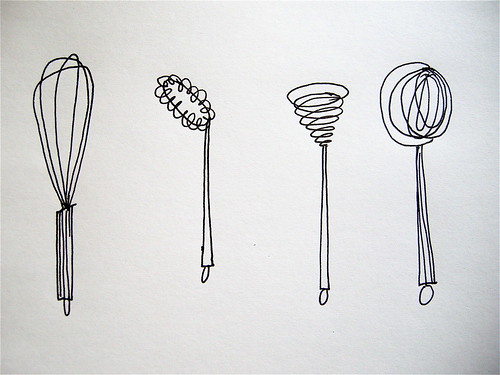
I was planning on having a pdf file with embroidery designs you could download, but I’m not having much luck with that at the moment. Until I figure it out here are pictures of the designs you can print out and use (you will probably have to resize them a bit). If you want to see these or any of the instructional photos more clearly, click over to my flickr site.
Edited to add: please click here and you can download both sets of designs for your own stylish, embroidered tin can cover.


drop me a line if you make one!


