kcwc guest post: jessica from a little grey
October 1st, 2012
I discovered Jessica, and her blog A Little Grey, when she won Project Run & Play last spring. The clothes she made were super stylish but still wearable, modern but not serious, and cute but not cutesy. Pretty much everything I strive for, but rarely get just right. She is a very talented seamstress who makes amazing kid clothes. (not to mention stunning quilts) And today is no exception. Jessica took the Kid Pants pattern by Dana and turned it into a runway look. Check it out!
Hey, I’m Jessica from A Little Gray, and I’m downright chuffed to be kicking off the pre-KCWC festivities. I love this event so much, but in the spring I didn’t get to participate because I was competing in Project Run & Play. (Which is going on again right now, by the way. Lots of inspiration there.) But this time around, I am all in!
You should know that I love to sew boy clothes. I have a little girl too, but for some reason the boy sewing comes much more naturally to me. Color blocking has been a great trend for a while now, but it seems like girls have been having all the fun with blocked skirts and dresses. When I saw this new collection from Michael Kors, I knew my 3 year old needed to rock some color blocked pants.
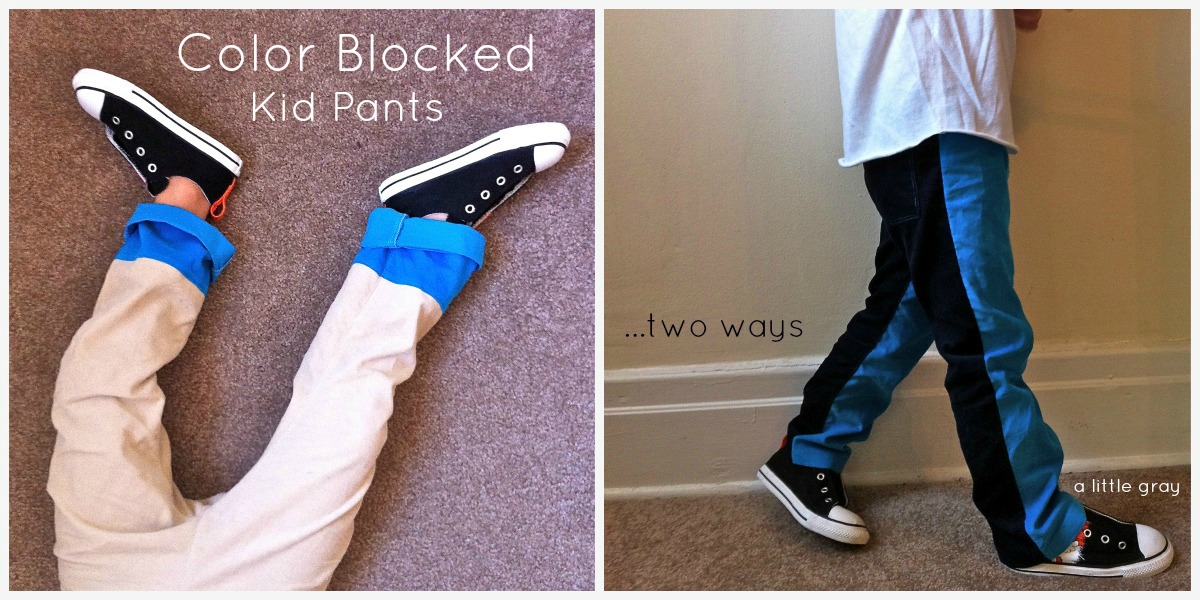
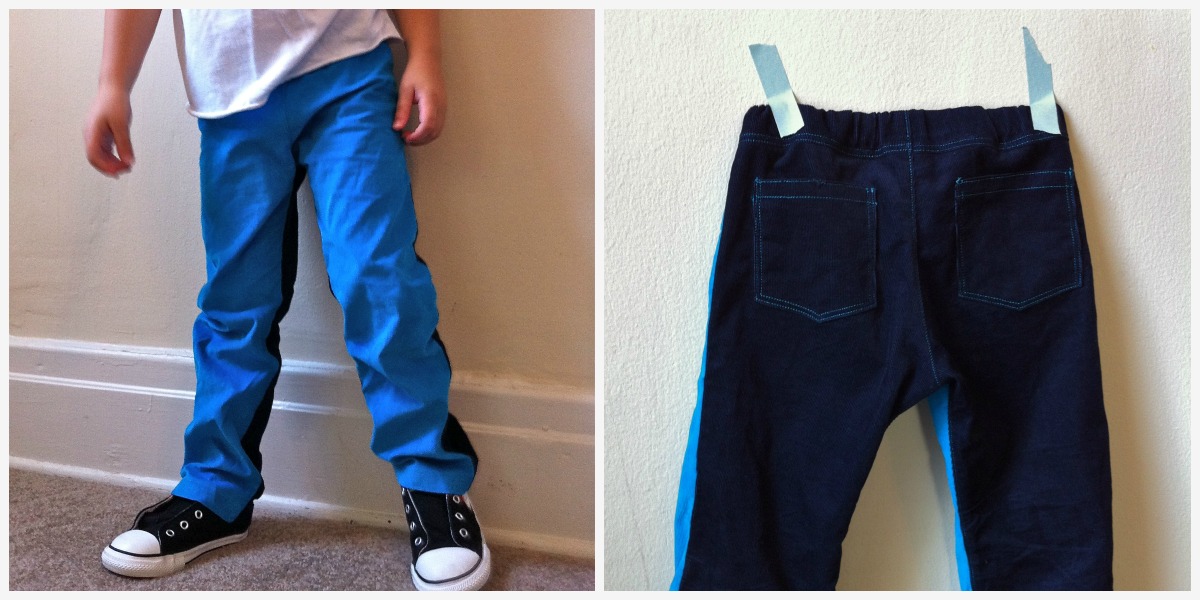
This first pair is inspired directly by those Kors men’s pants that are different colors on the front and back. Using Dana’s fantastic kid pants pattern, I simply cut the front pattern piece from peacock blue corduroy and cut the back from navy. Not much to explain there, but it’s something I never would have thought to do before.
I also cut them a little skinnier (see below) and added back pockets with contrasting bright blue topstitching. I think back pockets are such a great way to make pants look much more polished and professional. I basically make mine like this tutorial. You can use an existing pair of pants to make a pocket pattern.
I couldn’t stop at just one pair of CB pants, (despite my husband’s looks of great concern for my sanity) so I decided to try it with contrasting bottoms this time. They look pretty cool cuffed with some chucks. The result is just like this pair, but pieced instead of painted. That’s what I’m going to show you how to make today.
But first you can very easily make them fit slimmer if you prefer. I did this by marking a line on the bottom of each pattern piece, 1.25″ in on the inseam side. Continue to draw the line up so that it’s perpendicular to the other straight side of the pants. Then as you get closer to the crotch, ease the line into that curve. Make sure you measure the same amount in on both pieces, and your pants will line up without a hitch.
Now I’ve cut the new shape out of my pattern and I’m going to figure out where to cut again for color blocking. First, cut a piece of string to the length you want the main fabric of your pants to be before the contrast color starts. I wanted my contrast well below the knee and I cut my string to 11.5″. However, my son is tall and I have to add a few inches onto the bottom of this pattern for him. So if your child fits the pattern as is, you might want to take 2-3″ off of that length.
Use your string to start at the point of the crotch and measure down the inseam to mark the pattern at the end of the string. Of course, you want to keep it flush against that curve, which I wasn’t able to photograph very well.
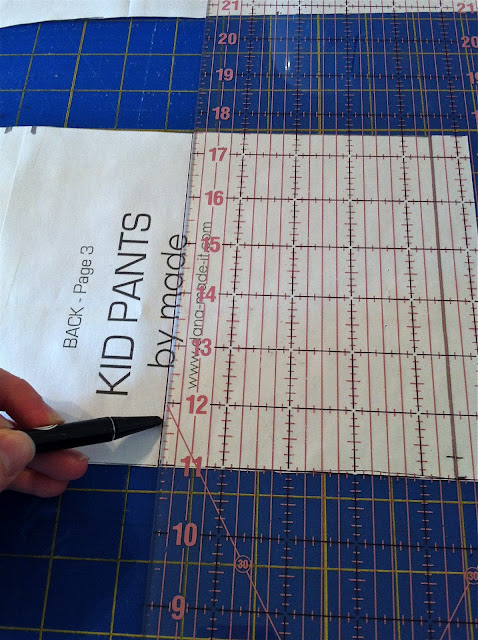
Use a ruler to draw a line at that mark all the way across the pattern, keeping it perpendicular to both sides. Cut the pattern on that line and repeat the same process with the string on the other piece. It’s also helpful to write “front” and “back” on those bottom pieces now so you don’t get them confused.
Now cut all your pieces from the two fabrics, cutting two pieces on the reverse from each like normal. HOWEVER: be sure to add 3/8″ for seam allowance to the bottom of the main pieces and top of the contrast pieces. In other words, on the edges where you cut the pattern apart.
Now you are ready to sew the pants together as usual. But when you sew the inseam, pin very carefully so that the contrast seams match up perfectly. Do the same when you sew the outside seams, hem as usual, and you are done!
If you like this look, you should also check out Blue-Eyed Freckle’s tutorial for how to add a contrasting bottom to existing pants.
Thanks so much for having me Meg, I can’t wait to see what pops up in the flickr group. Maybe I’ll even get to see some color blocked pants? Happy KCWC sewing everyone!
* * * * * * * * * * * * * * * * * * * * * * * * * * * * * * * * * * * * * * * * * * * * * * * * * * * * * * * * * * * * * * * * *


