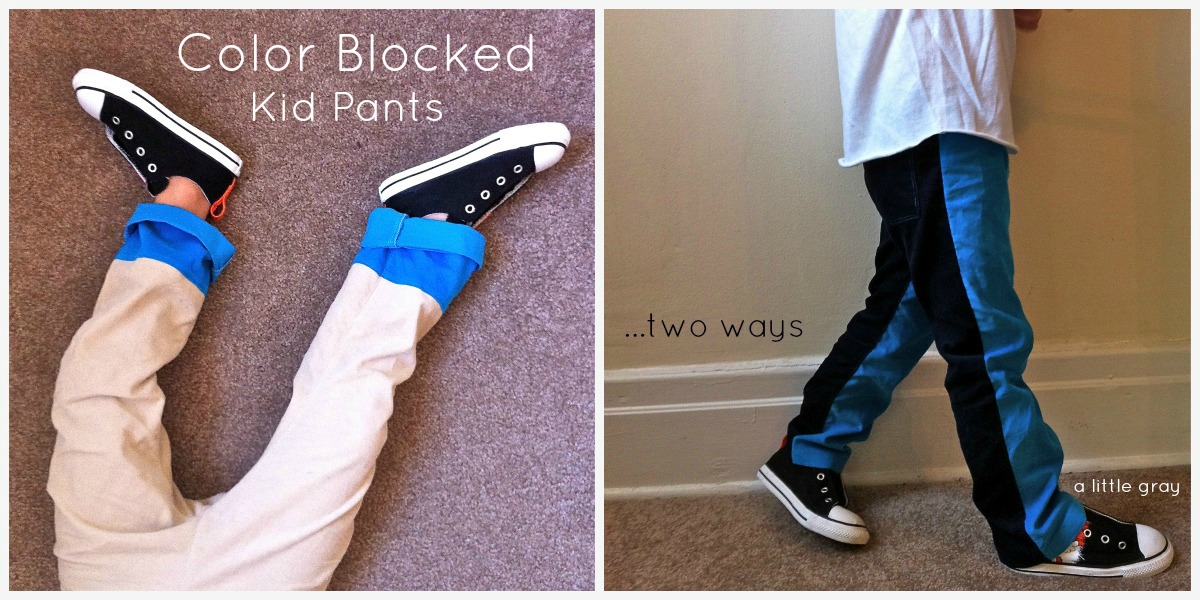
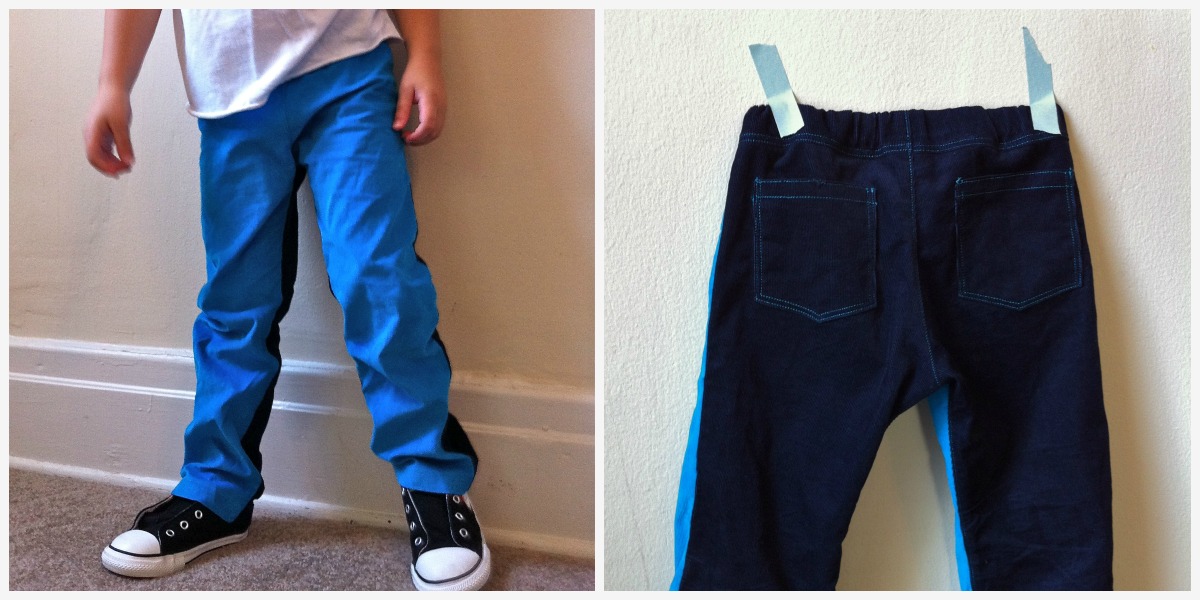
kcwc guest post: sophie from cirque du bebe
October 2nd, 2012
I’m guessing you already know Sophie from Cirque du Bebe. The clothes she sews for her kids are so stylish and unique they are unforgettable. I mean look at that telephone blazer! Sophie took the Kid Pants pattern and turned it into the comfiest pants in town. She was kind enough to write up a tutorial too! Lucky you (and me)!
* * * * * * * * * * * * * * * * * * * * * * * * * * * * * * * * * * * * * * * * * * * * * *
Can you believe the next Kids Clothing Week Challenge is just around the corner? It feels like just yesterday I was face first on the sewing nook floor, making pattern angels in the debris and murmuring ‘Just keep sewing…just keep sewing’ to myself. I’m a tad excited to be taking part in the Pre-KCWC celebrations with a cozy, lazy, fall-worthy take on Dana’s toddler / kids pants tutorial. Which happens to have a special place in my stitchy heart as the tutorial behind my first ever (successful) attempt at pants for my then-two-year-old, now four-year-old boy. You’re just going to have to take my word for it that these low ‘n lazy lounge pants you see here started with a) Dana’s pants pattern. And b) a thrift store sweatshirt. If you like low crotches and you cannot lie… this one’s for you!
You’ll need…
- Ribbing for a wide comfy waistband
- Elastic wide enough to fill out your waistband (the elastic I’ve used here is 2″ wide)
- Knit fabric / something fancy to up-cycle like an unloved men’s hoody.
- Scissors, co-ordinating thread, hand-sewing needle, tracing paper or similar, marker, safety pin.
Did the thrower-outer not see the potential before him?
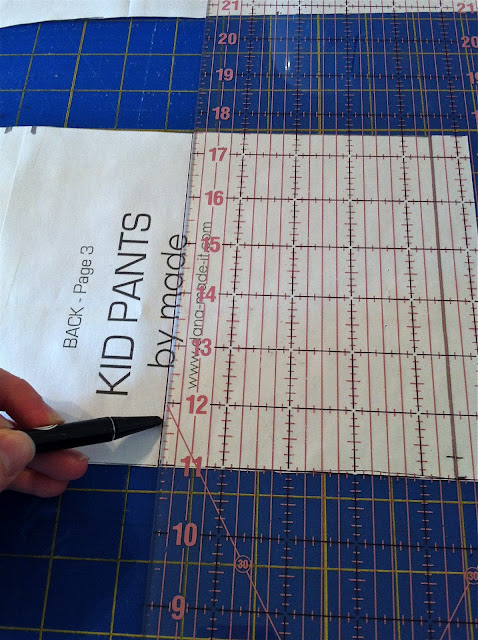
1) Follow the steps in Dana’s tutorial to produce your own front and back pants pattern pieces.
2) Lay your fabric on the fold and place one of the leg pattern pieces on top so that the point of the crotch sits just over the folded edge of the fabric. To make our low n’ lazy curved crotch, take the marker and draw a curve from the tip of the crotch down the inside of the leg, finishing about an inch inside the edge. Repeat for the other pattern piece.
3) To cut the piece out, start at the bottom, cut to the end of the new line but stop there. Cut the rest of the piece out except for the section above the crotch tip because we want that bit to stay on the fold. Repeat for the other piece. You’ll end up with a front and a back piece that resemble the shape below.
4) With right sides facing sew front and back pieces together at the side seams and the crotch seam with a 3/8 ” seam allowance. Finish the edges or leave them raw. The advantage of dissecting something like a hoody is you can pinch cute features like this pocket, which I’ve attached to the front here. Useful for storing things like cars, raisins etc.
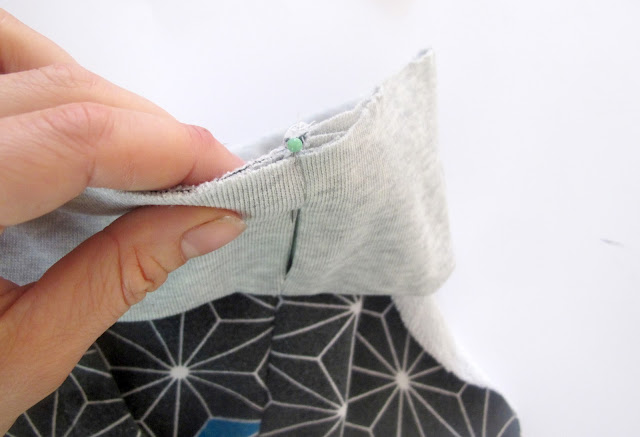
5) To get the dimensions for the ribbing piece, the height here is determined by how wide you’d like your waistband x 2 plus a seam allowance for top and bottom. The length of the ribbing will be the size of your kiddos waist minus 4 “. Once you’ve cut out the piece, fold in half with right sides together like so. Sew together with a 3/8 ” seam allowance leaving a gap of about 1″ in the middle of the top half. Bit of a mouthful.
6) Turn the right way out, fold in half. Does it look like this?
7) Using a fabric marker or a pin, mark the centre point of the ribbing on the opposite side to the ‘gap’.
8) To attach waistband to pants we’re going to line up the raw edge of the ribbing piece with the raw edge of the top of the pants. But most importantly make sure the ‘gap’ is facing the outside and lines up with one of the side seams. Pin this point in place.
9) Find the center point you marked earlier and pin it to the opposite side seam. Once these two points are pinned, it makes it easier to spread the rest out.
10) Pin your layers together feeding the ribbing around the whole perimeter of the pants and stitch with a 3/8 ” seam allowance. Finish the edge or leave it raw.
11) Turn out the right way and press the seam downwards. Starting to take shape!
12) Cut elastic to the length that will be comfy for your child and hook a safety pin through one end. Feed it through the ribbing making sure the other end doesn’t slip through.
13) Secure the ends of the elastic together, using zigzag and going back and forth several times. Stuff it back inside the casing and hand-stitch the opening shut neatly. Lastly, hem your pant legs, or you could even add cuffs. And you’re done!
We’re approaching spring here and while it’s still cool enough in the mornings for knit fabric loungies, they get rolled up into cuffs during the day, which look pretty cute on their own.
* * * * * * * * * * * * * * * * * * * * * * * * * * * * * * * * * * * * * * * * * * * * * *
Thank you so much Sophie!


