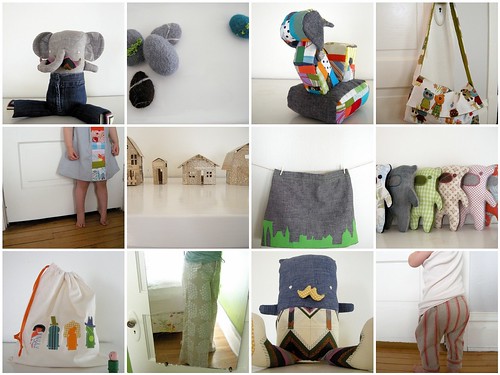
I suppose I should have posted this yesterday, seeing as 2008 is now over, but I’ve been busy doing absolutely nothing. This week has been post holiday recovery. I finished everything I had to do by the time we left to go to Grandma’s house for Christmas and then I promptly got the flu Christmas eve, so I could barely enjoy it. Poo. I’ve actually heard of a few other people getting sick on Christmas this year–maybe we’re stressing out a bit much about Christmas these days? maybe next year everyone will get a kiss and a pat on the back. Anyway, things are slowly getting back to normal: the tree is on the way to the curb and the kids have stopped asking about the advent calendar everyday. And though we did whoop it up with hors d’oeuvres and chocolate milk at 5:30pm last night, the new year came in pretty quietly. This is the time of year when I am very happy to have a blog, because I can look back and actually see some of what I accomplished this year. I was never the sort of person who could keep a journal past January or remember what happened last week, much less last year, so it’s nice to be reminded that sometimes I can get shit done and sometimes it’s not half bad. Most, if not all, of this stuff would have never come to be if it wasn’t for you, dear readers. It still seems silly to me that someone I’ve never met can say something nice about my work and it pushes me to make more and better things. Before I started this blog, I thought my creative vein had dried up, but somehow you keep inspiring me to push through those crappy creative dry spells and keep making. Thank you, thank you. I wish you boundless creative energy and piles of amazing vintage fabric (for cheap!) in the new year.
Happy New Year!
Posted in sewing. 17 Comments »
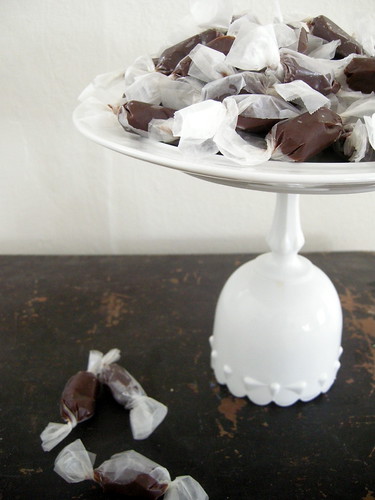
this is just to show off the amazing cake plate I got from a friend for christmas. It’s a cup and a plate epoxied together, but it’s so much more than the sum of it’s parts. I’ve always wanted a fancy fancy cake plate. Those are chocolate caramels on it, made for little christmas gifts. I made the gingerbread version too (which were surprisingly good) and they’ve all gone to our neighbors on this snowy, snowy day.
Posted in craft. 7 Comments »
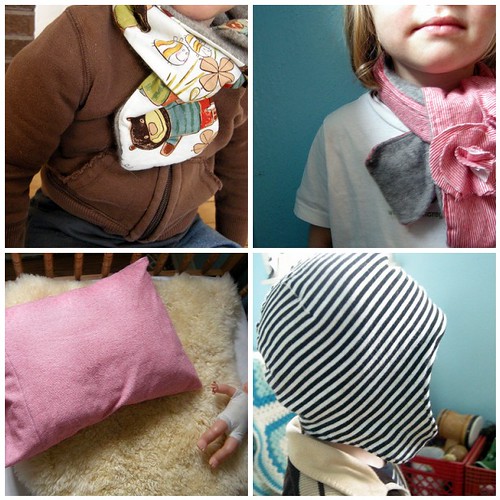
…a few warm things I made for the kids so far this winter. The scarves are made from the sleeves of an old felted cashmere sweater and the kids love them because they are so soft. The flannel pillowcases were supposed to be their St. Nicholas day presents, but I completely forgot about St. Nicholas day. So they were whipped up in 10 minutes on St Nicholas night right before bedtime. A couple french seams and a big hem and voila! a custom pillowcase. I might make some linen ones for myself after Christmas. And the hat is from an old Martha Stewart pattern. I’ve used the pattern a bunch of times before, but the sizing is always tricky. I set out to make one hat and suddenly the whole family has them. Usually I just make them from felted sweaters, but for this one I made two hats (one from a sweater and one from an old stripey knit shirt) then fit them together right sides facing, sewed around the edge, turned it out, topstitched and ta da.
Posted in sewing. 13 Comments »
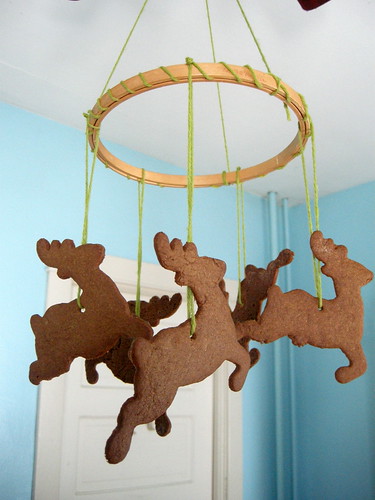
This is a Martha idea from a few years back. Super simple and it makes the whole room smell like gingerbread. My reindeer are pretty wonky (one somehow became a boy reindeer in the oven and one gained some christmas weight) Martha would not approve. If you make this, the gingerbread dough’s best quality should be sturdiness, not deliciousness. There was an obscene amount of butter in these, so we will be eating, not decorating with, the rest. Though I’m sure these reindeer will have their feet nibbled off in no time.
Posted in christmas. 20 Comments »
Here it is, the string of lights advent calendar tutorial (and pattern!). I made the pdf pattern file all by myself for the first time, so if you have problems with it just email me and I’ll try to fix it. Otherwise, hurry up! because advent is almost over!
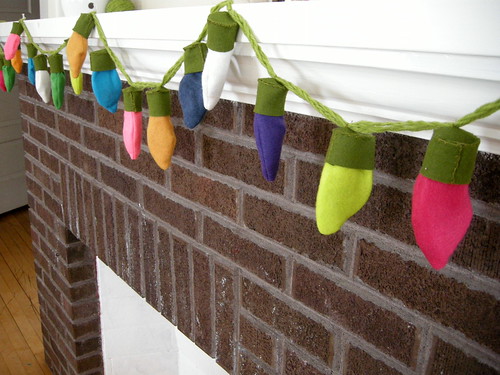
materials
green wool felt
multi-color felt scraps
60 feet green yarn
green embroidery thread
lightweight treats (gum balls, dum dums, love notes, tiny ornaments)
pattern
download here
directions
Cut the yarn into six equal pieces (10 feet each or 120 inches each or about 3 meters each). Take three pieces and braid them together. This is more difficult then it sounds, but if you roll up the slack and just work with a little yarn at a time it’s much easier. Braid the other three together the same way. Then twist the two braids together and knot the ends. It will stay twisted when you sew the lights to it.

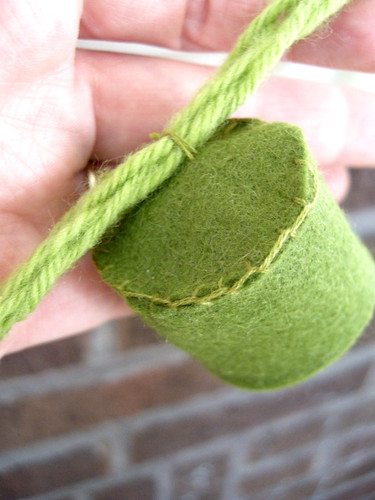
Cut out 25 (or 24 or however many lights you want) circles and rectangles. Create the socket by sewing a blanket stitch to the edge of rectangle and the circle attaching them to each other. If the rectangle is slightly longer than the circumference of the circle clip it to fit and continue sewing the ends of the rectangle together. Sew the sockets onto the cord–one every three inches.
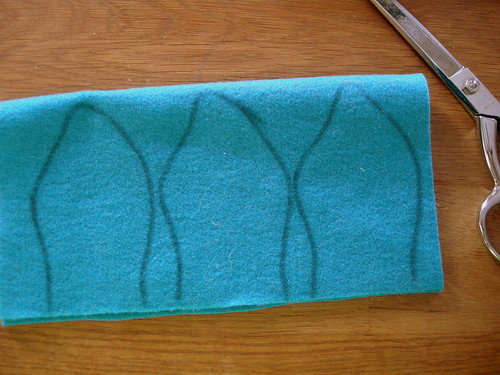
Cut out the light bulb pattern piece. To sew the lights up faster you can fold your colored felt over and simply trace the pattern onto it with a marker (permanent or not it doesn’t matter) then sew the two pieces together staying inside the lines. To be safe test the first light to see if it fits: sew and turn out, put a treat or two inside, then fit it inside the socket and see if it stays when it’s hanging upside down. If it slips out, just make the lights slightly bigger. If you’d rather use the lights for decoration and not for treats you can stuff the light bulbs lightly and sew them onto the socket.
I didn’t really finish the ends of the cord (I just tied a knot on both ends). But it would be sweet to make a little plug out of felt to hide the knot. To do this cut out four extra “socket bottom” circles and two extra rectangles. Cut a slit in the middle of one of the circles and insert your knot, then attach the rectangle, just like you did for all the sockets, and attach the other circle to the other side–making a round (European style) plug. You can even make some prongs out of felt to complete the look.
download the pattern here.
Posted in christmas, holidays, tutorials. 17 Comments »


