I live in Michigan, and we’ve had a pretty cold winter this year. Entertaining my two small children indoors is starting to make me a little crazy. I just heard that we’re supposed to get a foot of snow in the next two days. I’m not sure how much more of this I can take. So I’m putting together a little list of reasons I love winter to help me keep the ol’ chin up. That way by the time my kids have worn ruts in the floors from running laps around my house, I can look at this and remind myself again why winter in the Midwest is awesome.
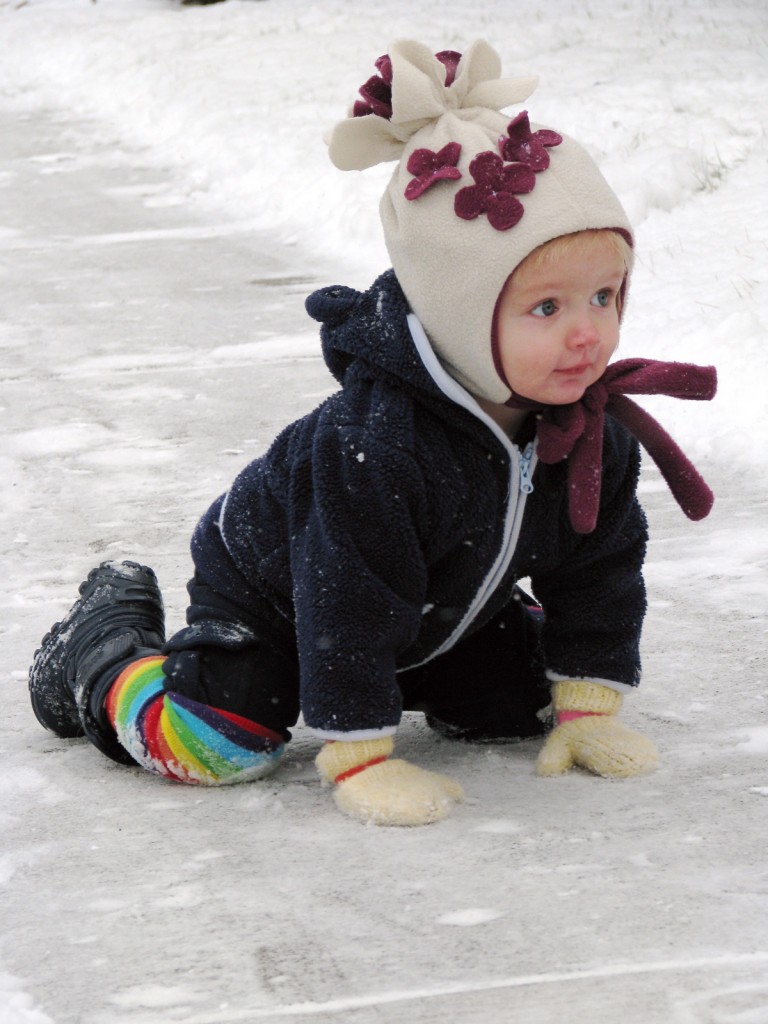
my daughter Clementine playing outside in the snow

1. More reasons to buy clothes: When you have four real seasons rather than hot and sorta warm, you need more clothes. And the winter wardrobe is great, soft sweaters, peacoats, corduroy pants, jeans, and a whole category of scarves/hats/gloves with which to accessorize. I even find that since I pack away my summer and winter clothes when the seasons change, I get to surprise myself all over again the next year when I take it out. (Me: “Oh my goodness! I forgot I even OWNED a mustard yellow peacoat!”). OK, so that maybe that reason is a little flaky, but it counts. Onward.

2. Winter-only activities: This may seem obvious, but some of my fondest winter memories from childhood are of sledding down giant snow hills in our driveway, cross country skiing, building snowpeople, and ice skating. It seems like so much work now to get my own kids bundled up to play in the snow, but I have to remind myself that someday they’ll remember it fondly too.

3. Stronger constitution: I’m pretty sure winter makes me a tougher person. There’s definitely an attitude of superiority among Midwesterners when it comes to the weather; we believe (know, actually) that we’ve been given more sturdy composition and mental perseverance for a reason, and we intend to prove it by showing winter it can’t get the best of us. We laugh about how many days it’s been since we’ve seen the sun. Winter makes us stronger, and we like that.

4. The occasional warm day: Normally there are one or two days where winter briefly relaxes it’s icy grip and throws us a bone, a day which seems crazy warm by comparison to those immediately before and after it. And the exuberance with which Midwesterners fling themselves outside in their tank tops as soon as the thermometer clears 50 is really quite admirable. I love those days. The air smells like thawed worms and earth. Yum. (Dear Winter: We haven’t had one of these yet this year. Maybe you could lay off a little?)

yes those are produce rubber bands holding her mittens on

5. I’ll always have you beat: when a friend who lives in a warmer climate complains about cool weather, I just laugh. (Me: “Forty degrees? That’s NOTHING! It was 40 degrees BELOW zero here yesterday. And don’t even get me started on the windchill!” Translation: “You wimp.”) And everyone has some variation of the story about a kid in their elementary school who got their tongue stuck to the tetherball pole during recess. It’s fantastic.

6. Winter is pretty: We’ve had snow on the ground since way before Christmas and I barely notice it’s there anymore, but it’s really quite lovely when I take the time to look at it. Some mornings all the trees have an inch of snow on all of their branches and it looks like everything has been covered with a layer or marshmallow creme. And occasionally all of the trees get coated with a layer of glistening ice that takes your breath away when the sun shines through it.

So, Winter: It’s true I do like you alot. But I’d be lying if I didn’t say I love summer alot more. Don’t take it personally.

Rae Hoekstra blogs over at Made By Rae. You can find a (free tutorial) for the Snowblossom Hat shown in the pictures above right here.

february sponsor spots

January 30th, 2011

I’m popping in super quick to say there are a few spots open for February sponsors. If you are interested drop me a line at elsiemarleyblog@gmail.com and I’ll send you all the good stuff. Ok. back to the beach and to reading all the awesome guest posts!

Scenes from a winter kitchen…

In the winter, we tend to hibernate a little.  Between snow days from school and work, and days when it’s just too cold to even think about leaving the house.  Days when the bite of cold air from opening the door just to let the dog in and out chill you right to the bone.  On those days, you cozy up in flannel pjs, wool slippers and sweaters and putter around the house.

I’ve found that the kitchen really is the best place to cozy up on these bitter cold winter days.  The warmth of the oven and hot tea help you forget the howling wind outside your walls.  Winter citrus (especially when they are meyer lemons personally delivered to you from a friend in Madison who brought them from her mom’s tree in California) transport you to a warmer, sunnier time.

And warm chocolate chip cookies, straight out of the oven, well, those remedy just about any ailment. Here in Minnesota, we weather these winter months by gathering around the hearth, around the food that sustains us, warms us, and nourishes us through the struggle of the cold.  And out of the warm glow of the kitchen, comes love and strength.

Chocolate Chip Cookies:

Ingredients:
1 cup non dairy margarine
1 cup brown sugar
1 tsp. vanilla extract
2 tbl ground flax mixed with 6 tbl water
1 1/4 cups all-purpose flour
1 1/4 cups whole wheat pastry flour
1 tsp. baking soda
1 tsp. cinnamon
1 cup semi-sweet chocolate chips
1/2 cup chopped walnuts (optional)

Preheat oven to 375.  In a small bowl, mix ground flax and water, set aside.  In a large mixing bowl, cream margarine and brown sugar. Beat in vanilla and flax/water mixture. Add in flours, baking soda, and cinnamon. Mix well. Stir in chocolate chips and nuts (if desired). Bake for 8-10 minutes on a lined baking sheet.

————————————–
minecreations is the blog of julia davidson, a transport to minneapolis from new york city and berkeley.  join julia for her adventures in crafting and living, where she babbles on about film cameras, knitting, sewing, baking, urban gardening, and the rest of the life that she shares with her adorable puppy and soon-to-be husband over at the minecreations blog.

The snow fell off our windows and into the air.

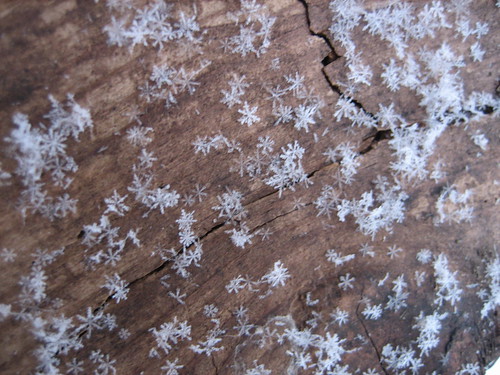
I almost remember the first time I witnessed snowflakes like this, witnessed for the first time the pointy hex-sided flakes that perfectly resembled the shapes we cut from white circles in school.  Up to that very moment, I had thought the real flakes were too small to see with my own eyes, had thought that only a microscope would reveal the magnificent crystalline forms. How wonderful to find I was wrong.

Today’s snow is just a dusting, a light cleansing snow to softly cover up the stale, dirty snow beneath and give a fresh start to the winter-in-progress.  It’s a whisper, and a lovely one at that, reminding us that we’re here in Wisconsin and not, in fact, in Hawaii.  I hadn’t forgotten.

********************************************

Five Green Acres is the homestead of Mary Jo, her family, and a revolving cast of chickens, sheep, and various other riffraff.  You’ll find her there reporting live on their adventures – crafty, agricultural, or otherwise.  Stop in for a visit: FiveGreenAcres.wordpress.com

Hi there! It’s me, Anna from noodlehead.  If you have some time to kill today, feel free to stop by and say hi or check out my tutorials and patterns.  I also want to say a huge thanks to Meg for having me over.  I’ve been a long time admirer of Elsie Marley and am super honored that Meg asked me to stop by with a fun little project!

It’s a sweet and simple project you can create in time for valentines day.  This would even be a great project for a beginner or for a child who’s fairly comfortable using a sewing machine.

I thought of these pillows one day after I saw some of my vintage hankies.  Their colors were perfect for valentines day and I thought they would add a little bit of character to an empty chair or sofa.  My mom had given me a few of the hankies and I had collected a few from local estate sales.  If you’re not sure where to get vintage hankies, I suggest looking at estate sales, etsy, or ebay.  They’re usually in pretty good condition and will be durable enough to add to a pillow  After all, they were originally intended for nose blowing!
Now I’m sure there are some enthusiasts who would never do this to a prized vintage item, but for me I’d rather have them out on display where we can enjoy them more, instead of stashed in a drawer somewhere.
Let’s get started!

Materials:

  • 1/2 yard linen or base fabric for making the pillow cover
  • 1 vintage hankie (wash, iron, starch)
  • 1/2 yard heat n bond lite (available at Joanns, even pre-packaged at walmart)
  • thread, sewing machine, pins, etc.
I’ll give measurements for both a 16″ pillow form, but of course feel free to adjust these as needed for your particular hankie/pillow form.

Cutting the pieces:

  • top: 16″ x 16″
  • for envelope back: cut one piece 16″ tall by 14″ wide, and another 16″ tall by 11″ wide
Attaching hankie:
Apply heat n bond lite to the hankie using manufacturers directions.  Fuse hankie to pillow cover top, centering hankie.
The next step can be potentially tricky, but you’ll need to sew the hankie down to the pillow cover top as close to the hankie’s edge as possible.
Depending on how your particular hankie is shaped/hemmed, you might have to take it really slow and lift the presser foot and turn as you go.  You could alternately used heat n bond ultra (which requires no sewing to ensure the quality of the bond), however it will make the pillow more stiff, so I’ll just leave that up to you!
Finishing the pillow:
Next you’ll want to hem the edges of the envelope back opening.  Take one piece of envelope back and press the long side over by 1/2″ towards the WRONG side of the fabric and again by another 1/2″.
Sew close to folded edge.  Do this for both envelope back pieces.
Then place the pillow cover top facing RIGHT side up, on top of that layer the larger back piece RIGHT side down on top, aligning raw edges.  Then place the smaller envelope back piece over that, also RIGHT side down.  Pin.  Sew around entire perimeter using a 1/2″ seam allowance.
Serge or use a zig zag stitch around edges to finish them off so they don’t fray in the wash, clip corners.  Press.  Insert pillow form and enjoy!