Posts Tagged ‘easter’

easter tie

043

You told me I had to, so I did: I made a matching tie. I used the pattern and tutorial for the little boy’s tie from the Purl Bee. It came together super quick and in one evening I was done. The tie is almost completely hand sewn. If you set up the ironing board in front of the boob tube, you too can make a tie in a night. “Little boy” is a little vague so I didn’t know if the tie would fit my son (he’s three), but it’s actually perfect.

058

And it was warm enough that they didn’t have to cover up their cute outfits with a winter coat. I remember there being many snowy easters when I was a kid. They even got to have an easter egg hunt outside. Yay for crazy midwestern weather!

easter dress

DSCN1468

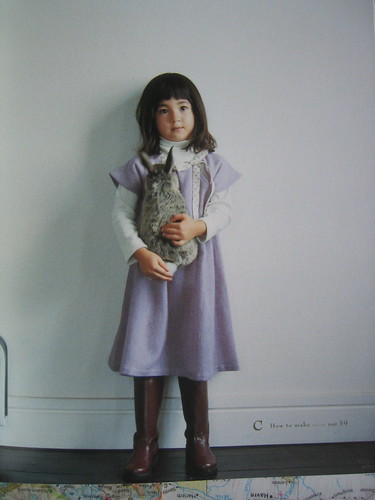
This is the first year that I’ve made my daughter an easter dress. I think it was just too hectic the past few years for me to get one done, much less done on time. But this one was done with a week to spare! Can you believe it? Well the hem is pretty wonky, but I don’t really care because she loves it.


source

The pattern is from the japanese book Girly Style Wardrobe. The dress is incredibly simple, but in japanese it’s a little harder. I could not for the life of me figure out how they wanted me to cut pattern pieces for the tie, so I just made it up as I went along and they are shorter than I would have liked, but whatever. I did actually make a muslin (because the floral fabric she chose for the dress is vintage and so, so lovely) and I should have learned about the tie with the muslin, but I screwed it up totally on that one and didn’t fix it, even though that ‘s what muslins are for silly (I’m sure it will show up on ye ol blog sometime).

I would like to make my son a tie to match, because how adorable would that be, but easter is two days away and there are eggs to dye!

the quick little bunny tutorial

quickbunny

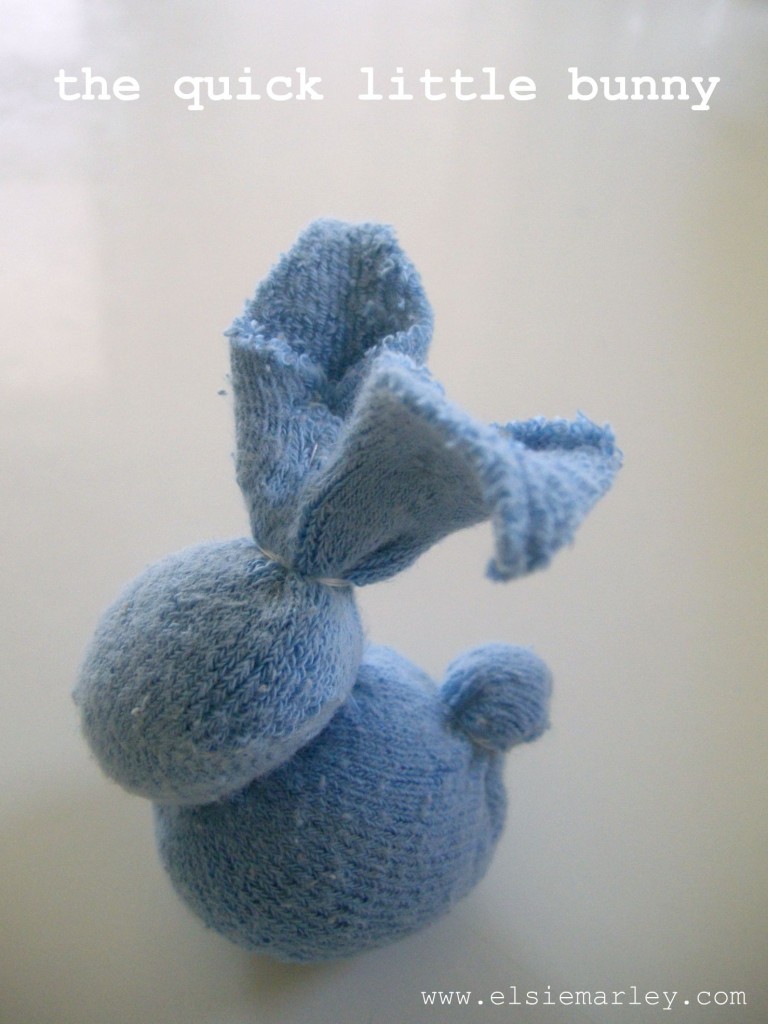
I really wanted to make the sock bunny that Heidi (from My Paper Crane) created, but I didn’t have any of those fantastic red and brown monkey socks. What I do have is baby socks: tons of cute, mismatched, totally useless, never stay on baby socks. Now that my littlest is very much not an infant and too soon will be a toddler it seems kind of silly to keep all those teeny tiny socks. So I made a bunny out of them. And a tutorial too.

DSCN1529 DSCN1537

This is indeed a quick little bunny. After I figured out the pattern, start to finish each bunny took me just 15 minutes.  So if you are anything like me and never get around to the easter baskets until the night before, you can whip up this little softie and still have time to run to the drugstore to score the last bag of jelly beans.

The quick little bunny tutorial

DSCN1486

Materials:

  • baby sock
  • a handful of stuffing
  • heavy duty thread
  • scissors

Make that bunny:

Before you start sewing take second to look at the sock you have. Most of the foot part will be the body and the heel area will be the head. Yours might be a little different, depending on your sock. If you look at the picture below you can almost see the bunny already.
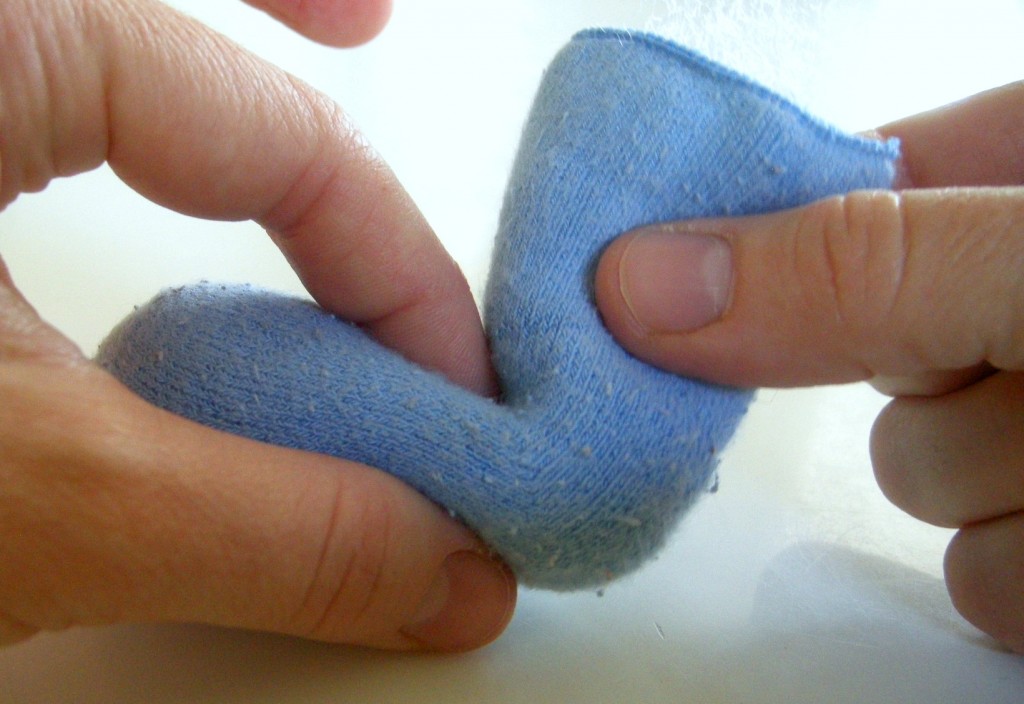
DSCN1495

the body:

Take some stuffing and stuff the foot part of the sock–not too tight! this is just a little, squishy baby bunny. Where the foot part ends and the heal begins sew a running stitch around the sock and pull to gather it. I like to wrap my thread around where I’ve stitched a few times just so it’s secure. Knot your thread and snip.

the tail:

DSCN1498

On the top of the bunny’s back,  sew a circle about an inch in diameter with a simple running stitch. Then pull to gather. You may have to mush the stuffing around so you can pull it tight  to make a tail shape. When you have a little bunny tail, wrap your thread around a few times and knot off (do people say “knot off?” does it sound too much like I’m yelling at you to go “knot off!”).

the head:

DSCN1504

To make the head, put a little stuffing inside the sock and sew a running stitch around the top of the heel. Before you pull it taut make sure all the stuffing is pushed down under your stitches. Then wrap the thread around and knot off!

the ears:
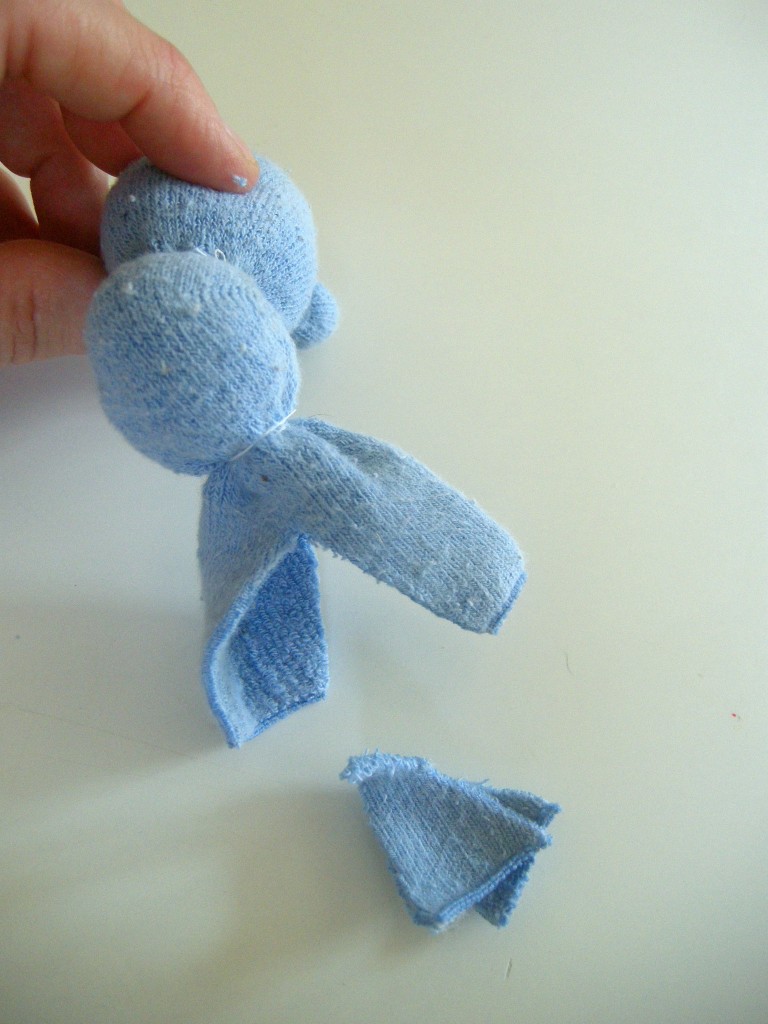
DSCN1508

Cut a big V shape out of the top of the sock. Now trim the top part of each ear to a point.  Then fold the two sides of the bottom part of one ear in to meet and sew together. This is a little easier to understand when you look at a picture:

DSCN1509 DSCN1511

When you sew that seam down the middle of the ear, it’s good to catch some of the back of the ear with your stitches, so the ears are a little thinner.

The attitude:

Okay, that is a dorky title, but this is the fun part. Now you can play around with the ears and the head, moving them to where you want and putting a stitch here and a stitch there so they will stay.
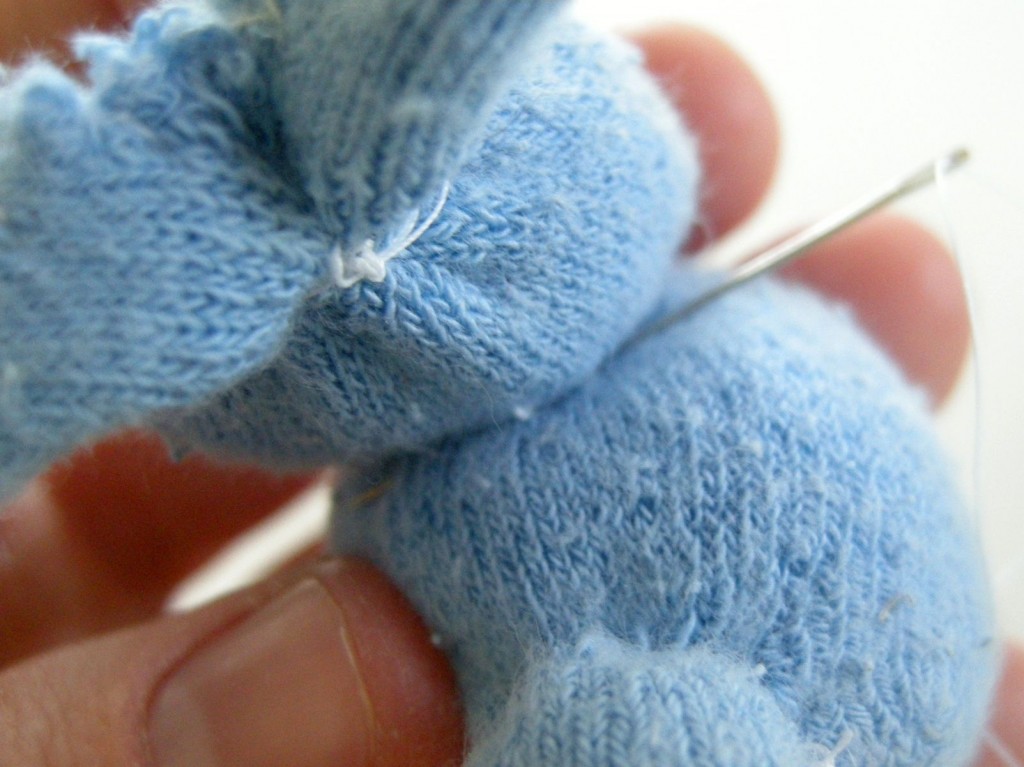
DSCN1515

You don’t have to give your bunny an attitude, but you should stitch the back of the head to the body a little, so it looks more bunny like and less like a cinched up sock. There! you did it! Now go dig around in the sock drawer and see what else you can make into a bunny.
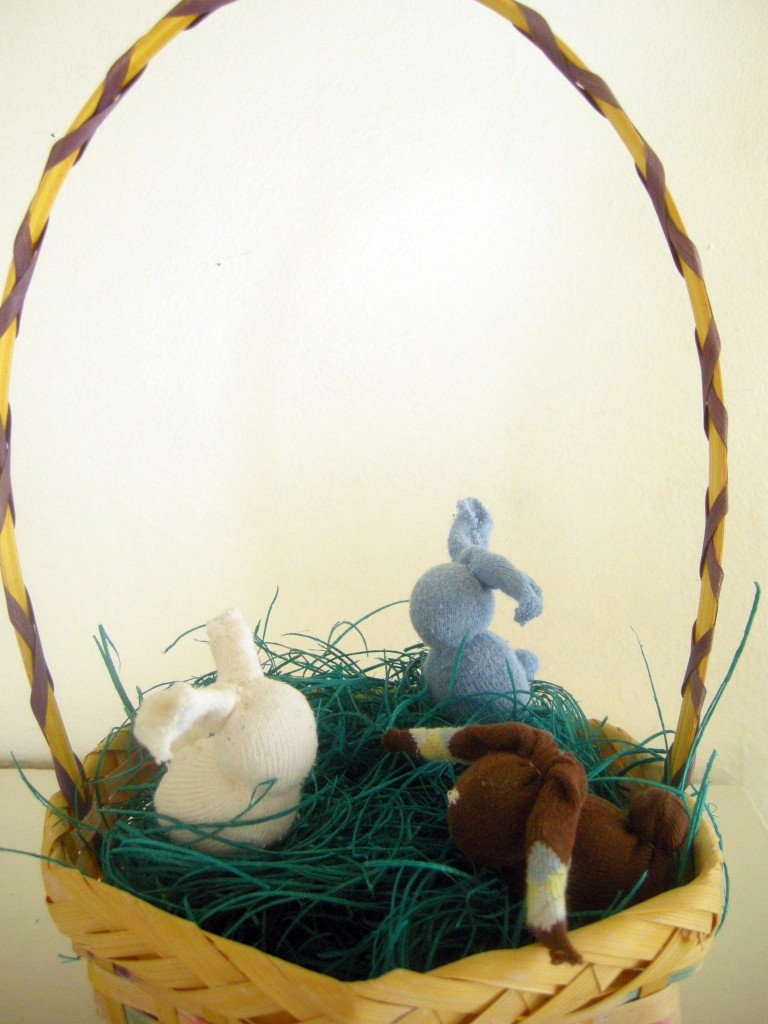
DSCN1538

bunny bowling

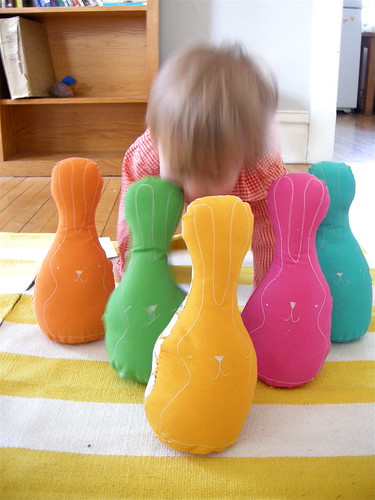
We had a lovely easter with lots and lots of food and only a few sugar related meltdowns. I finished the bunny bowling pins in time, but couldn’t get the ball to turn out round, so we just used a ball we already had. It turns out he idea of bunny bowling is much more exciting then the actual thing. I weighted down the bunnies a little too much and it takes quite a bit of force to knock the damn things down (you can see my son just gave up on the ball and used his little head). Oh well, my kids don’t really understand what bowling is anyway. And they make excellent whappers.

peeps

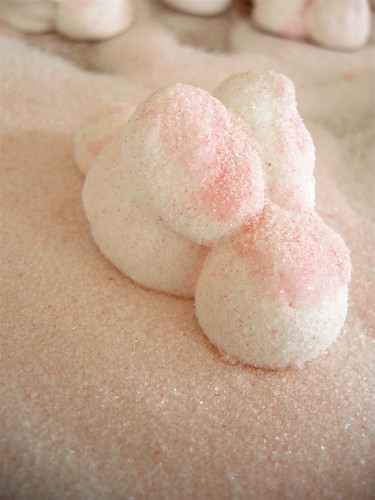
I suppose there are people out there who don’t care for peeps, but I’ve never met them. Most people I know eat them this time of year with abandon and many have their own special way of enjoying them: I like mine stale, for instance (just like my mom), and I had an old boyfriend who liked to burn the little bunnies with his lighter before he ate them–so tough.  But this year instead of buying my peeps, I thought I’d make them. They’re just marshmallows sprinkled with sugar, how hard could it be?  Not hard really, after you royally screw up a couple of batches and have to throw them out, run out of colored sugar (by the second chick), have a small sugar induced meltdown, suck it up and make your own colored sugar (just throw some white sugar and a couple drops of food coloring in a food processor–nothing to freak out about), and come to terms with the fact that every other bunny you make will be a mutant, so no, not hard at all. The most important thing is not to over whip the marshmallows. They should have very soft peaks and can even still be a little warm. I used martha’s marshmallows for piping recipe, which is strangely lacking in the flavor department, so add vanilla extract (or peppermint or licorice or pineapple or whatever your little heart desires), but other than that it was great–and she has piping directions here. Oh and they are freakin delicious, fresh or stale.

I keep forgeting to say thank you for all the congratulations and kind words from all of you about my pregnancy. Thank you so much! It is so wonderful to hear and much needed as I’m freaking out a bit about having three kids under three. Better go eat some more peeps.